SEM
SEM 39387 2K Self Leveling Seam Sealer GRAY 7 oz Cartridge Automotive
SEM 39387 2K Self Leveling Seam Sealer GRAY 7 oz Cartridge Automotive
Couldn't load pickup availability
Brand: SEM
Warranty: No Warranty
Unit Type: oz
Manufacturer Part Number: 39777
Unit Quantity: 1
California Prop 65 Warning: WARNING: Cancer and Reproductive Harm. www.P65Warnings.ca.gov.
Country of Origin: United States
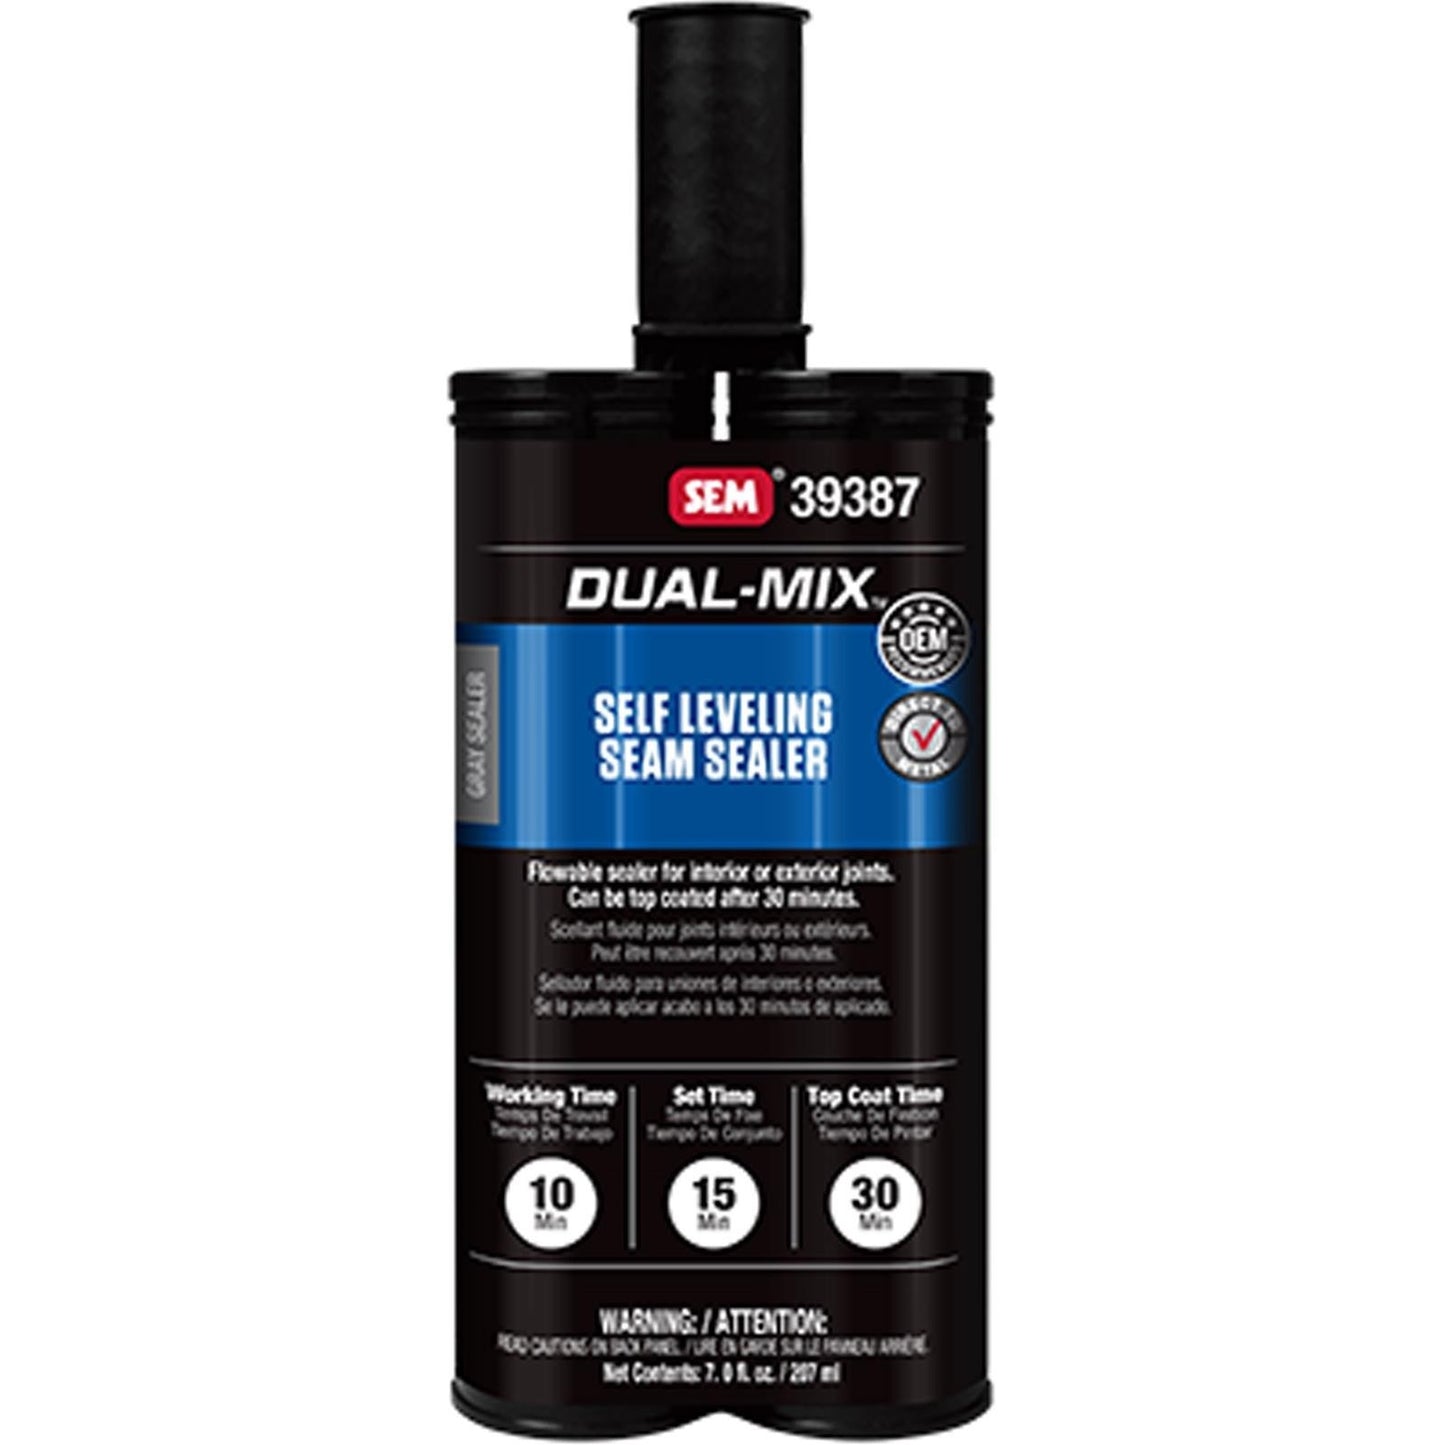
SEM 39387 Dual-Mix Self Leveling Seam Sealer - 7 oz Cartridge - Gray - Automotive Epoxy for Roof, Trunk & Drip Rail Seams
Brand New, Factory Sealed! Perfect for automotive restoration, bodywork, and DIY projects. This high-quality two-component epoxy from SEM Products is designed to seal drip rails, roof seams, and trunk seams with ease. It provides a professional, flexible finish that won't shrink, harden, or crack over time. Ideal for both professionals and home enthusiasts looking to achieve OEM-like results.
Key Features:
-
OEM Recommended: Trusted by manufacturers for reliable performance.
-
Direct to Metal Application: Can be applied on bare metal (with proper prep) or primed surfaces.
-
Paintable in 15 Minutes: Quick drying for faster project completion.
-
Excellent Self-Leveling Properties: Flows smoothly into crevices for a seamless, even seal.
-
Permanently Flexible: Maintains elasticity to handle vehicle movement without cracking.
-
Dual-Mix Forever Warranty: Backed by SEM's lifetime warranty when used as directed.
-
Versatile Substrates: Works on bare metal, OEM finishes, epoxy primers, and urethane primers.
-
No Shrinkage or Hardening: Ensures long-lasting durability.
Typical Properties:
- Color: Gray
- Container: 7 oz Dual-Mix Cartridge
- Working Time: 10 minutes at 70°F (21°C)
- Set Time: 15 minutes at 70°F (21°C)
- Top Coat/Paint Time: 15 minutes at 70°F (21°C)
- Full Cure Time: 1 hour at 70°F (21°C)
This sealer is VOC compliant in most areas (check your local regulations). It's easy to apply with a standard caulking gun or SEM's recommended applicators (like the Universal Manual Applicator - SEM 71119, sold separately). Static mixers (SEM 70011 or 70012) are required for proper mixing and are available separately.
Easy-to-Follow Instructions:
Follow these simple steps for professional results. Always wear gloves, eye protection, and work in a well-ventilated area. Test in a small area first if unsure.
Tools You'll Need:
- SEM 39387 Seam Sealer Cartridge
- Applicator gun (e.g., SEM 71119 Manual Applicator)
- Static mixer tip (e.g., SEM 70011)
- Cleaner (e.g., SEM Solve or XXX Universal Surface Cleaner)
- Sandpaper (P80 for bare metal, P400 for primed surfaces) or gray scuff pad
- Masking tape, razor knife, tack cloth, and optional heat gun
- Solvent for cleanup (VOC-compliant in your area)
Step 1: Preparation (10-15 minutes)
- Warm the vehicle or work area to at least 70°F (21°C) for one hour and ensure it's level.
- Clean the seams/joints thoroughly with SEM Solve or XXX Universal Surface Cleaner to remove dirt, grease, and old sealant.
- For primed surfaces: Sand with P400 grit paper or scuff with a gray pad.
- For bare metal: Sand with P80 grit paper.
- Blow off dust and wipe with a tack cloth.
- Re-clean the area with your chosen cleaner and let dry completely.
- Important Note: If the area flexes (like roof skins or drip rails), apply a two-component urethane or epoxy primer first (e.g., World Class DTM Primer), let it cure fully, then sand before sealing. Avoid acid-based self-etching primers to prevent cracking.
Step 2: Mixing (5 minutes)
- Insert the cartridge into your applicator gun.
- Pry off the cap with a flathead screwdriver.
- Squeeze out a small amount until both components flow equally (to equalize).
- Attach the static mixer tip and cut the end to your desired bead size (start small for control).
- Hold the gun upright and dispense until product flows into the mixer.
- Test dispense a small bead on scrap material to confirm even mixing (it should be uniform gray).
Step 3: Application (10-15 minutes)
- Apply masking tape at the forward end of the seam/channel to create a dam and prevent runoff.
- Dispense the sealer down the center of the entire seam length. It will flow out and self-level automatically.
- If air bubbles appear, use a heat gun on low heat (2-6 inches away) with a sweeping motion to pop them while the product is wet.
- Wipe away any excess with a small amount of VOC-compliant solvent.
- Carefully remove the tape with a razor knife while wet. Trim or sand the end if needed to match the original contour, but avoid lifting the sealer from the base.
- Let it set for 15 minutes at 70°F before painting or top-coating.
Step 4: Cleanup and Curing
- Clean tools immediately with solvent.
- Allow 1 hour for full cure at 70°F. Colder temps may extend times.
- Store unused cartridge in a cool, dry place (shelf life: 2 years). Snap the cap back on matching shapes.
Tips for Success:
- Work quickly within the 10-minute window.
- If reusing the cartridge, replace the mixer tip each time.
- For best results, apply in moderate humidity and avoid direct sunlight during application.
- Always review the Safety Data Sheet (SDS) for health precautions.
This SEM 39387 is a must-have for restoring classic cars, fixing leaks, or prepping for paint. Ships fast – buy with confidence! If you have questions, feel free to ask.
Share